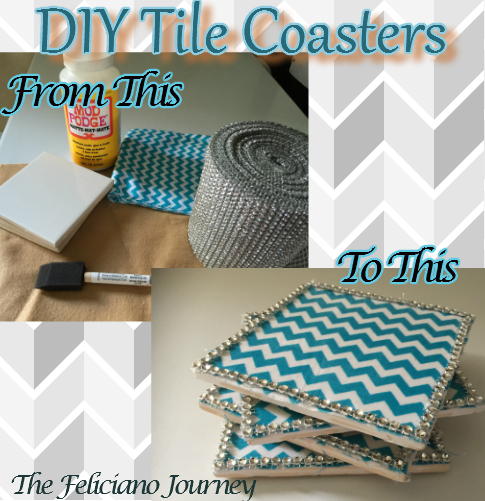
I want to share a quick tutorial on how I spruced up some ceramic tiles while making my own coasters. I have searched many stores for a long time looking for the perfect color to match my color schemes. I bought a few ceramic tiles from Home Depot which they were a few cents each and decided to work on them today since I am changing a few items in my dining room.
But as I was getting my items together I decided to share with you how cute it is to make your own diy projects using items you probably all ready have.
So lets get started…
What do you need?
- Basic Felt (I used cashmere tan 9×12)
- Fabric
- Mod Podge
- Ceramic Tiles
- Bling Mesh
- Tacky Glue and or Glue Gun
- Foam Brush
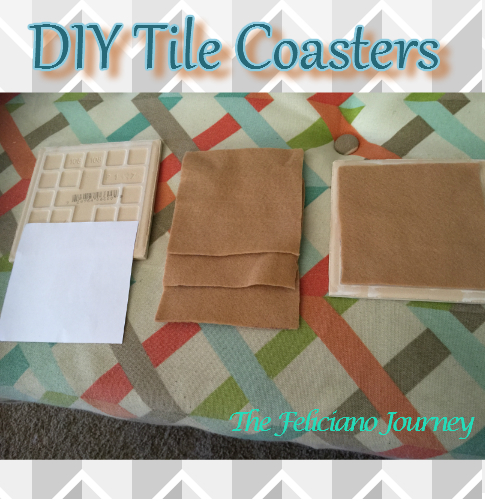
I started by making a square template tracing the back of the ceramic tile on a regular white paper, cut and make sure it fits pretty well. Now I trace the paper template into the Basic Felt and cut 4 squares as you can see in the picture. Glue each Basic Felt to the Back of the Ceramic Tile using a glue gun or Tacky Glue which was the glue I used for this part of the project.
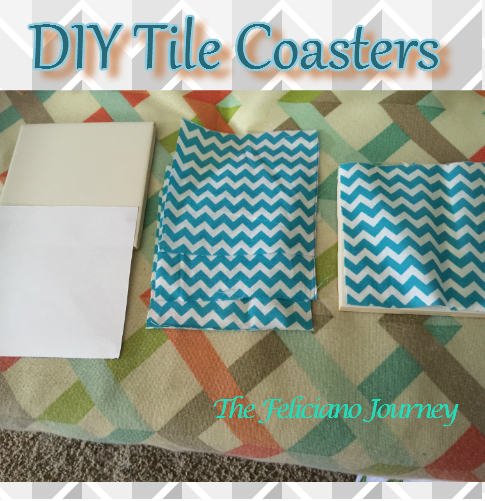
While the glue is drying, I started to make another template for the top of the ceramic tile it doesnt have to be perfect since we will put a border around the coaster. This template is pretty easy just flip the tile face down and trace on top of white paper and cut. Now you can trace on top of fabric using your template and repeat.
We are more than half way done… yesssss.. So now we seal the fabric on top of the tile. You can use a foam brush when applying the mod podge.
- Apply Mod Podge on top of tile and place cut fabric right on top (make sure corners match and then smooth it out) repeat this step on each tile. Let Dry
- Once completed apply Mod Podge on top of fabric then repeat this step on each tile. Let dry.
- Once it dries apply another coat of Mod Podge on top of fabric and repeat with each remaining tile.
You can apply 2 – 3 coat of Mod Podge if you like on top of the fabric
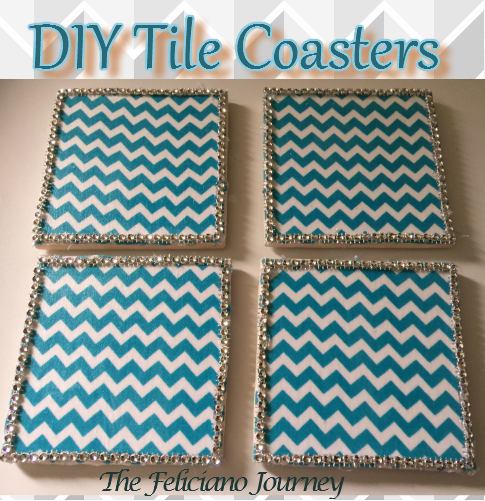
You are done if you would like your tile to remain this way but I wanted to add a cute bling border so you can follow these simple steps if you like.
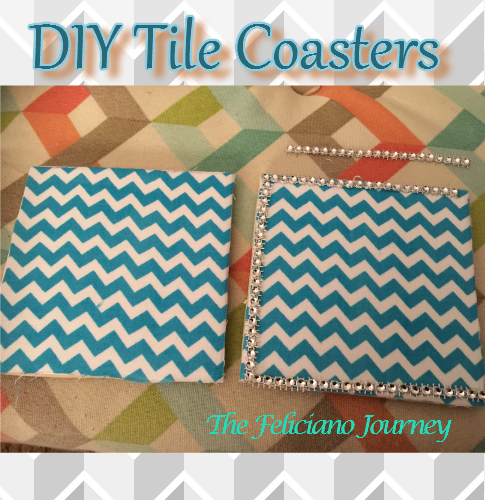
While fabric dries I started to measure and cut the bling mesh and trace it on each corner and follow those exact measurement to complete each tile.
- Measure, cut Bling Mesh
- Place on each tile (to make sure it all fits perfectly)
- Turn on Glue Gun and start to glue each corner
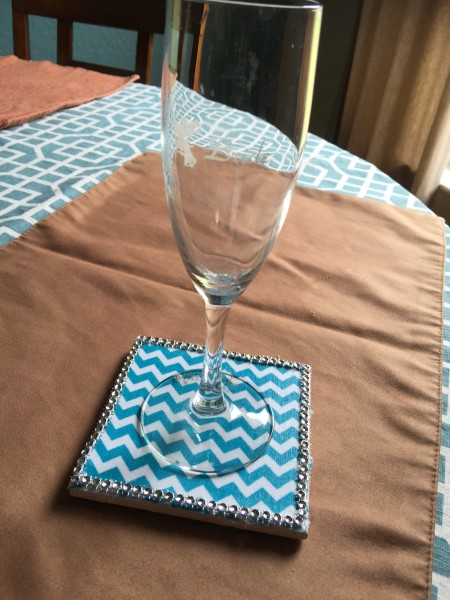
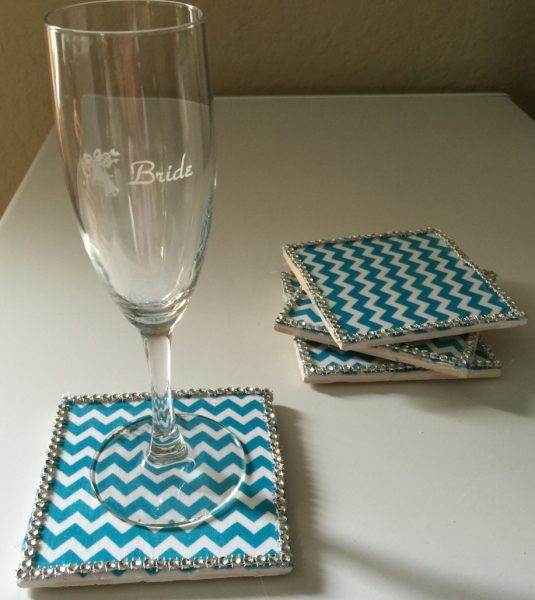
We are done… yeyyyy… What do you think? Not so bad, right?
I love creating my own items which helps make each room look so much more cohesive. The Fabric I used for this Diy Ceramic Tile Coasters is the same one I used to upholster our dining room chairs.
Hope you enjoyed this quick tutorial on how I made my own coasters – now I’m thinking of getting a few more tiles from Home Depot since they cost a few cents each so I can make a few more coasters..
Thank you all..










So cute! These would make great gifts too! Pinning!
aww ty so much.. I appreciate your comment.. and you are right it would make a great gift..
What a great project! I was just talking to the husband about how we needed some new coasters – I may have to give this a try this rainy weekend 😉 Stopping by from Create With Joy!
wow perfect timing jejeje.. ty so much for stopping by and writing a comment.. appreciate that very much..
Cute! Love the bling!
aww.. ty so much.. had in mind to make my own coasters for a while and when I saw my bling mesh I wonder if it would work as a border. Once it was completed I was so glad to see that little sparkle on each coaster. thanks again.
Cute ideal!
Ty so much for your comment and for stopping by too..