

My son graduated from high school a few days ago, such an exciting moment to see my son not only graduate but also surpassing so many obstacles which made him a much stronger young man I see today. We know the struggles he faced such as shyness and other things that were stopping him from accomplishing some goals. That is one of the reasons we called our page The Feliciano Journey, because we have been able to move from one stage (one place) to a better place.. We grow as people in some many areas (we get to improve ourselves from each challenge we faced) and is good to look back and recognize those areas that we may have struggle for some time to see that now we have conquer that stage.. Never give up always look at your hard times as a journey and know that you will make it to the other side..
Well, now back to the graduation cap. As I was making the cake I thought this would be a good way to share with you a simple step by step on how to make your own Graduation Cap.
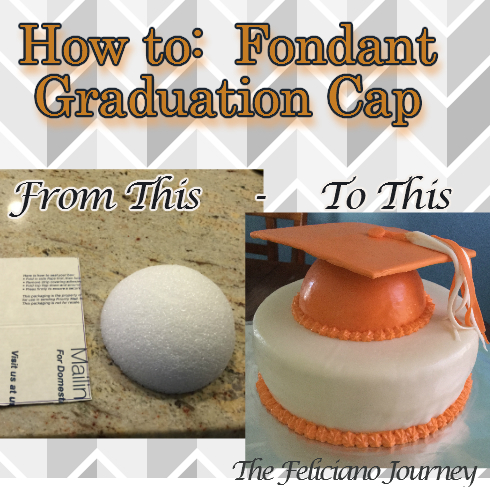
Items you need:
-
- small cardboard
- small foam ball – cut in half
- fondant/gumpaste
- food coloring (optional) depends on the color you which to make
- tip (to make small circle or star shapes)
- parchment paper
- water
- small brush
- fondant mat (optional)


Trace cardboard on the size you would like your cap to have (I traced a CD case only using the longest sides which gave me the size you see in the picture)
Color your fondant (I used orange because that is my son school color) Once fondant is colored, roll until you get enough to have around the cardboard.
Cut but leave a little room to have the extra fondant go underneath the border of cardboard. To make sure it sticks, place a little bit of water using small brush around the bottom corners so the fondant can stick. Set aside while it dries.

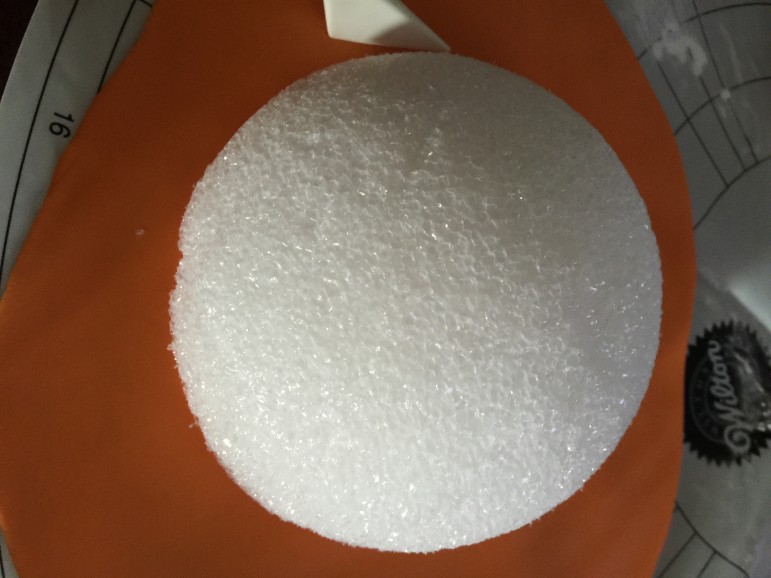
Now we start with the dome, round shape.
Cut your round foam in half. Roll out your fondant enough for bottom of foam could fit. Once fondant is rolled, trace using a flat tool to cut around it. Continue tracing until it has the exact shape of the foam. Lift foam and place shortening between fondant and foam (shortening will act like a glue) place foam on top of cut fondant. Lift carefully and place foam on top of parchment paper.
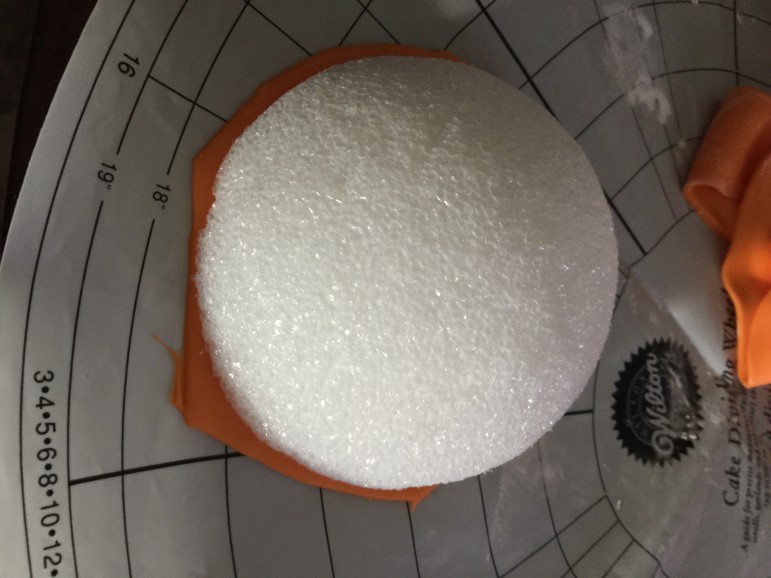
Roll extra fondant enough to place on top of the round foam. Once fondant is rolled place more shortening around the foam. Place rolled fondant on top of foam and smooth into shape.

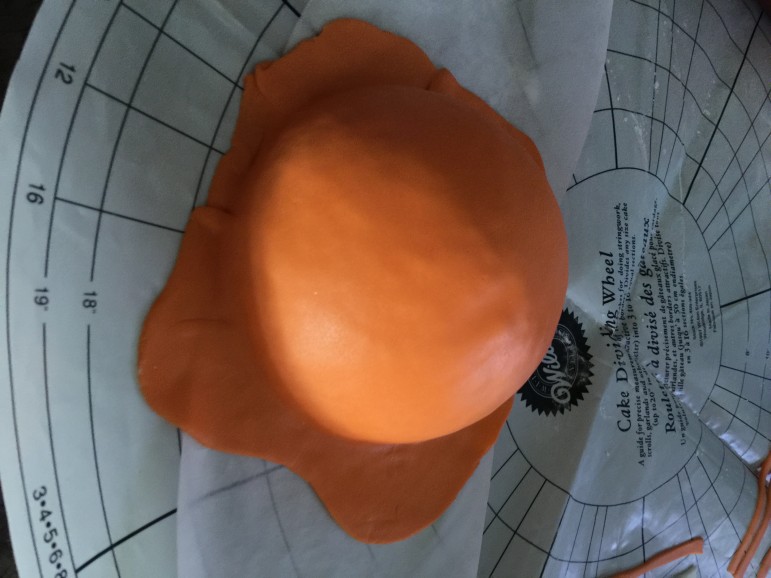
Cut excess fondant once fondant has been smoothed out. Using a decorating tip or small cutter cut a small circle from the extra fondant. With a brush place a little bit of water around bottom part of foam making sure dome fondant sticks to bottom fondant. Set aside until it sets. Discard excess fondant since it might have foam particles.
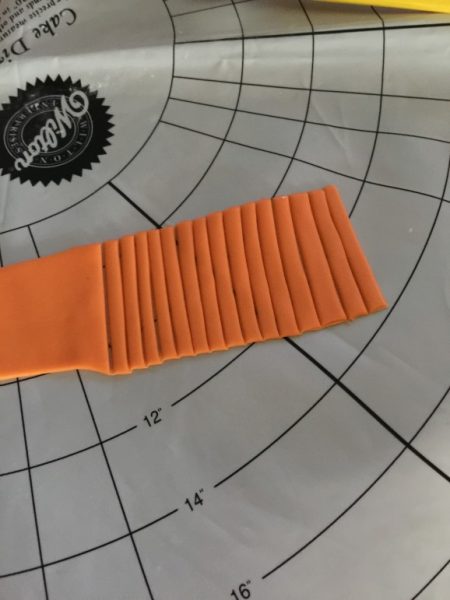
Now we continue making the tassel:
Rolled some fondant, cut lines desire tassel length ( the one in the picture was made for a smaller tassel since I made 2 – one for the cap and another for the back of the cake)
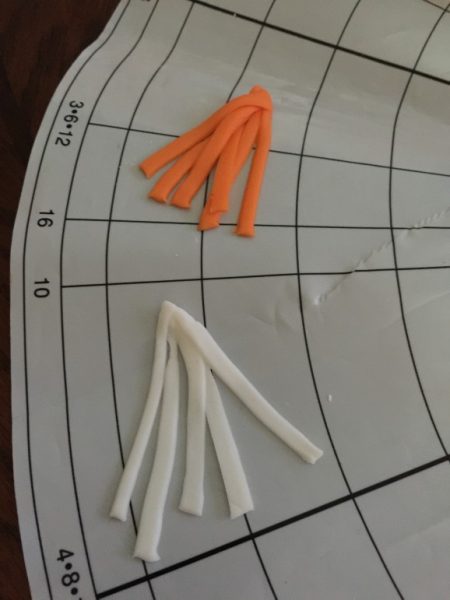
Place a few of the best cut stripes touching each corners, continue until you have enough. (I did a few orange and some in white)

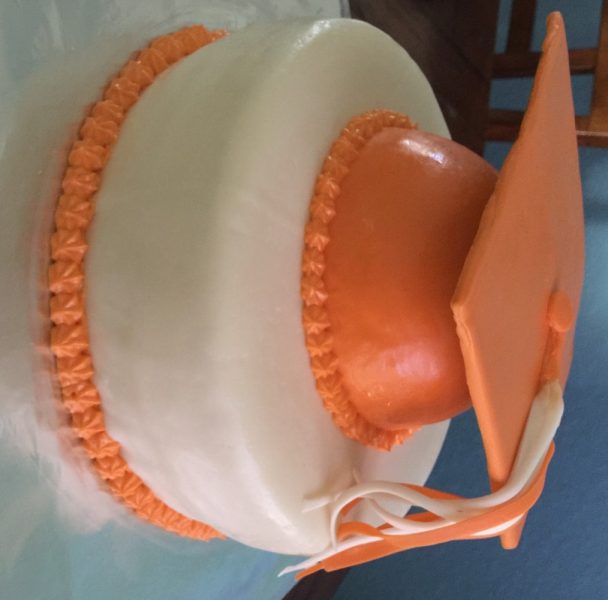
Now place circle/dome on top of cake. Place some frosting on top of dome and place square cardboard shape tilt until you find the shape you desire hold for a little making sure it sets. Shape border by piping some frosting around the border. Add frosting middle of cap place tassels that are set and place circle right on top. (before adding tassel make sure they are set)
You are done… Congrats..jejjej


This is a great tutorial for the Graduation Cap, it looks awesome. Thanks so much for sharing with Full Plate Thursday and come back to see us real soon!
Miz Helen
This is a great tutorial for the Graduation Cap, it looks awesome. Thanks for sharing your special post with us at Full Plate Thursday.
Miz Helen